How to “Bit Space”
Whether you are an accomplished maker or a teacher just beginning down the path, start here for a tour through the territories of our curricular framework and essential jumping-off points for charting you and your students’ paths to rich project-based learning.
Read on for information on each of the territories. Information on curriculum structure and implementation is found at the bottom of this page (or you can click here to jump down to it).
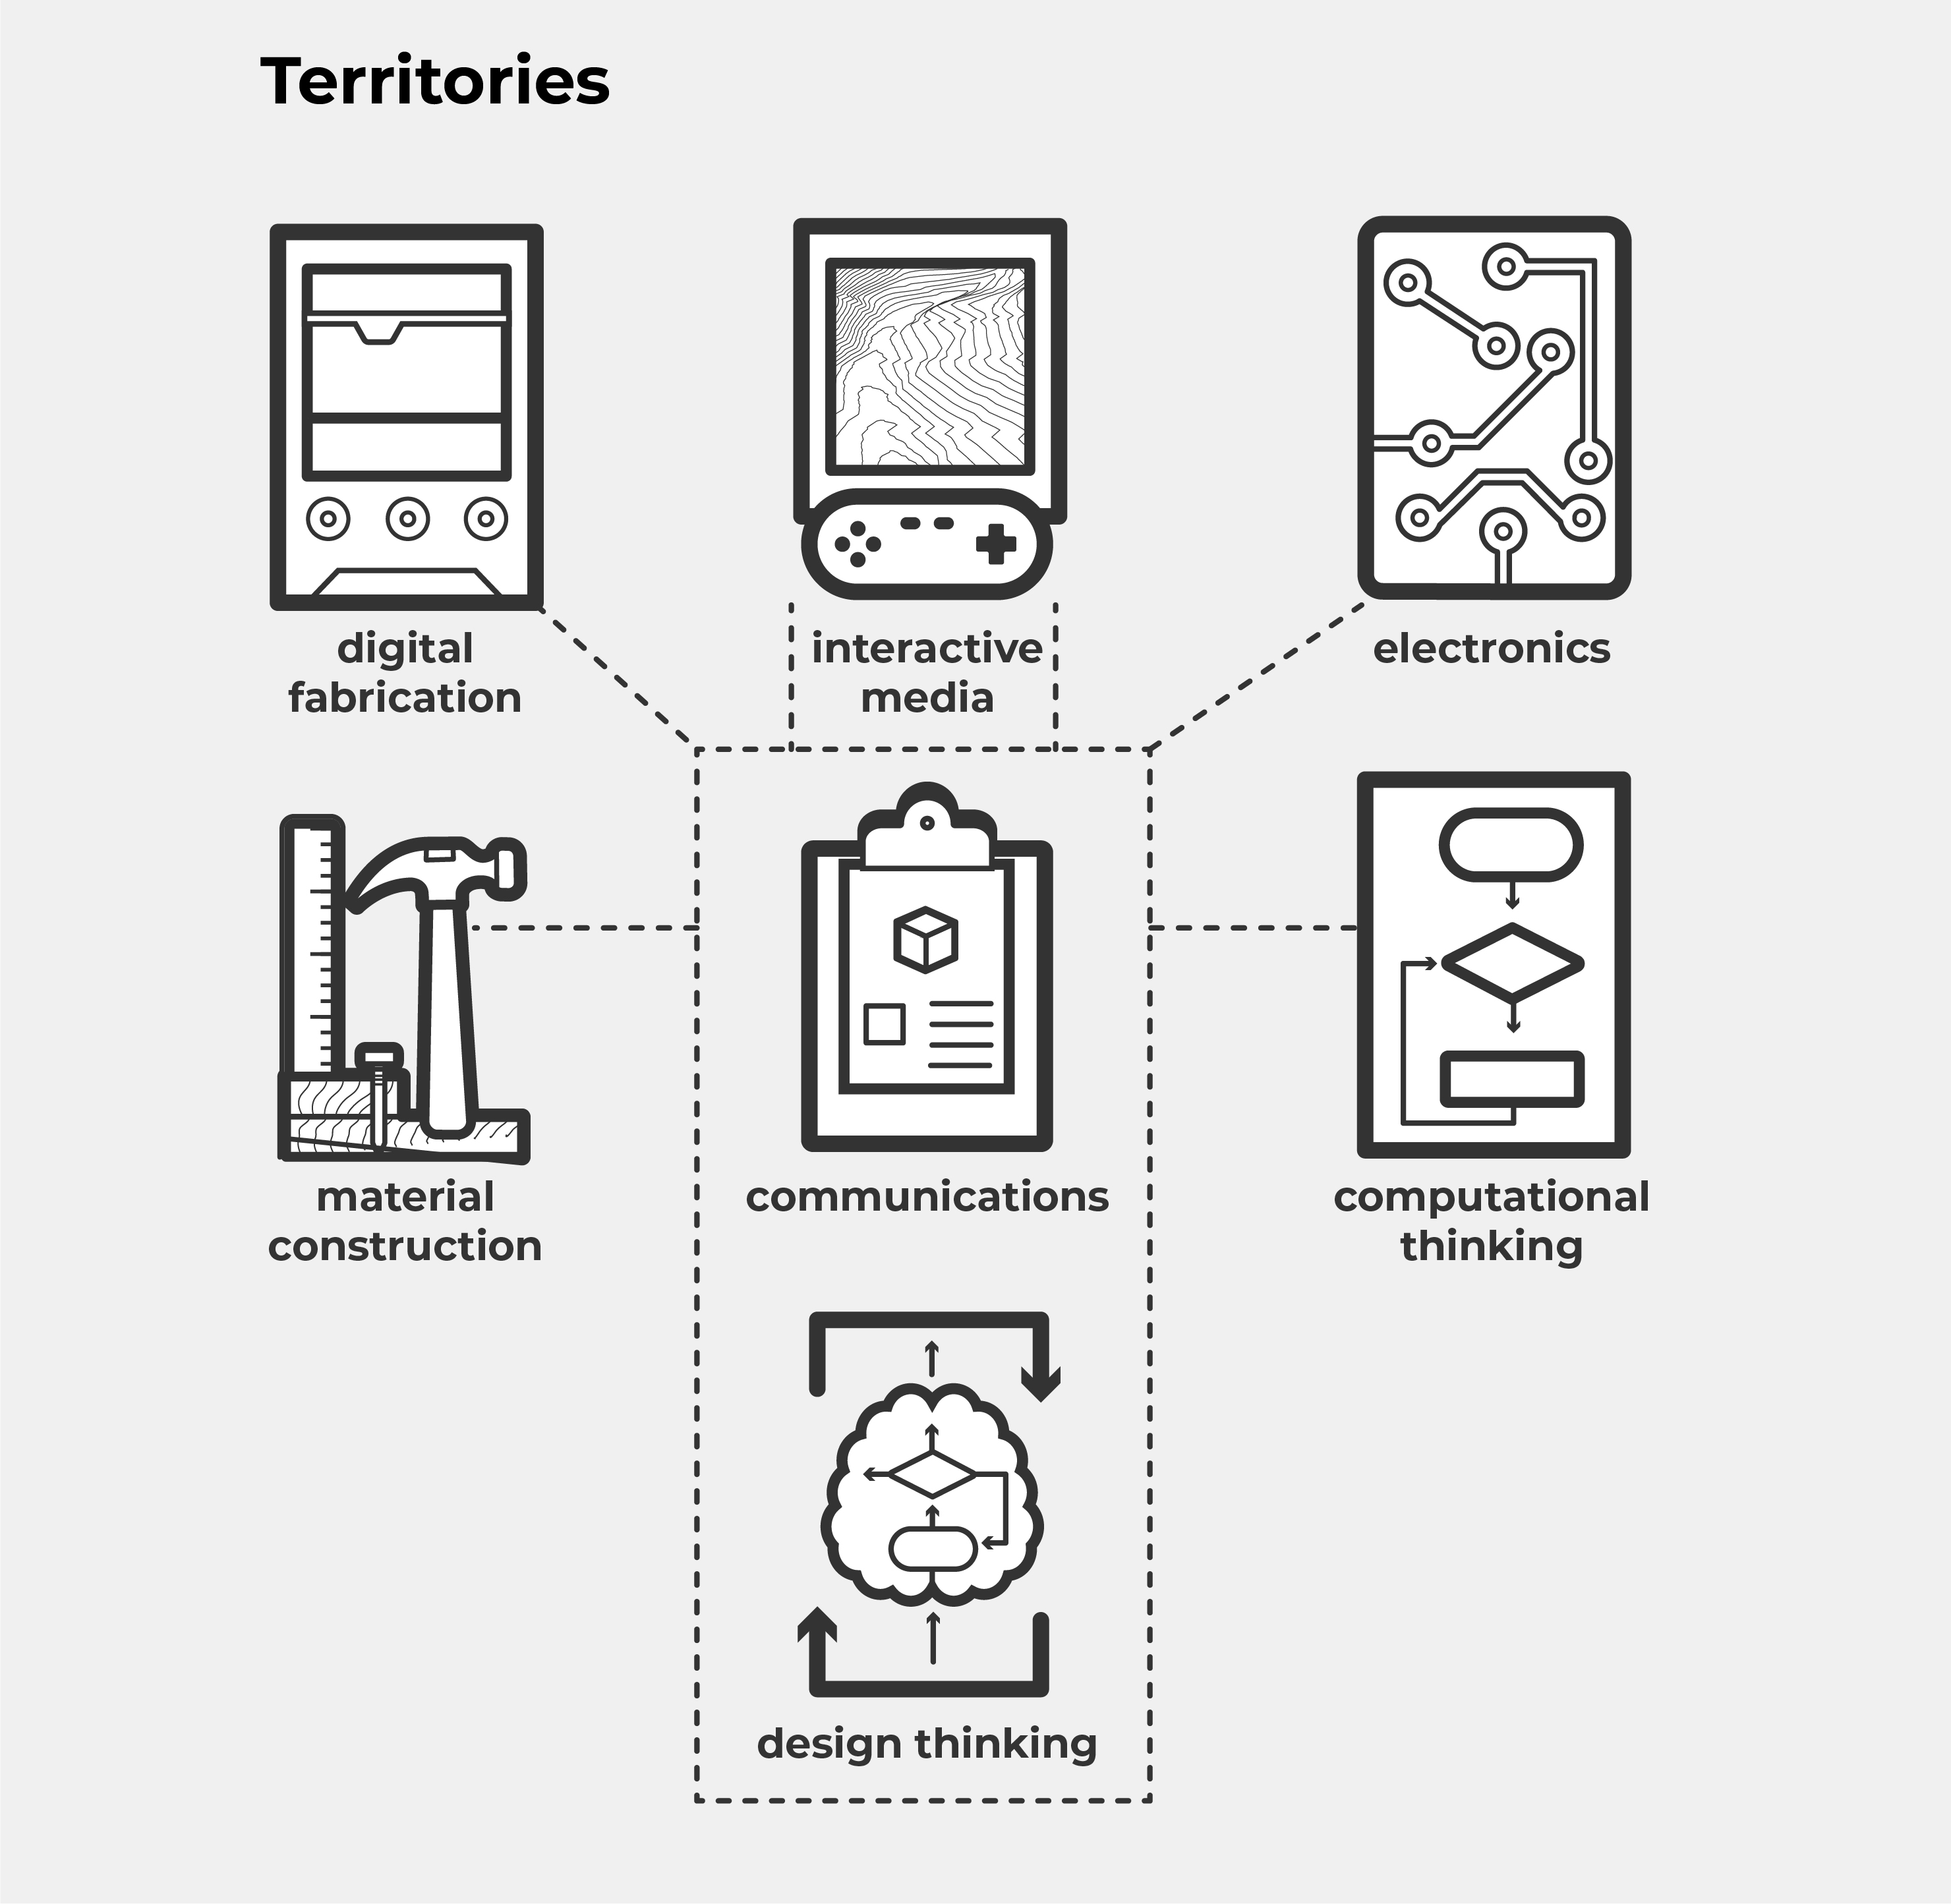
Territories
The Bit Space curriculum covers seven territories across the spectrum of design and making.
First, a Note on Drawing
Drawing isn’t a territory on its own ( though it probably could be), but we lead off with it in this tour to highlight its importance in the practice of just about everything else we are going to talk about.
Drawing is one of those polarizing activities that people either really love or truly hate doing Their preference is usually dependent on how confident or comfortable they feel in their end products (“oh, I could never draw perfectly” or “it just never looks as good as I want it to”). The point of drawing is to communicate your thoughts,
Try out 4 Things
Don’t fret if you think you aren’t very “good” at drawing. We start every Bit Space camp with an icebreaker (like 4 Things) that works as our equalizer, community-builder, and gets the drawing juices flowing. We always tell our students not to worry about being good at drawing when they can be effective. A simple smiley face expresses happiness just as well as the subtle chiaroscuro shading of the Mona Lisa’s smile.
“Drawing is Thinking,” Milton Glaser
We use drawing as a means for bringing our ideas into just enough reality that we can better understand our thinking. Consider for a moment that the way your mind and body work together to bridge the gap between “of the mind,” and “of the page.” Use drawing to explore the depths of your mind and the depths of opportunity in every design project.
Design Thinking
The Design Thinking territory is the most fundamental to Bit Space practices. It is why we have a makerspace. Every project, from whichever territories they touch, is being run at Bit Space to challenge the minds of youth through design.
The content from our Design Thinking territory covers the organizing of the design process. These are the methods by which you structure your design thinking from Ideas, Concepts, Understanding
Unfortunately, there isn’t a shortcut to understanding design, design thinking, or how to wield a design process, but you might get started with The Design Process, Briefly. Reading up on the Designer’s Lenses will help you start thinking about the different ways designers operate. If you have time, working through the Design Thinking Sequence will prepare you for thinking like a designer and is a great primer to running a general, open-ended design project.
Material Construction
The Material Construction territory is what has drawn most of our students to Bit Space. Wood and metal shops have left many schools and basements, so many kids simply don’t have access the way they once did. For some kids it’s about the craft, for some it’s about the power, for some it’s about the legacy. Mostly it’s just about fun. For us, material construction is the boundary of reality that our students need to bump against in order to challenge their thinking in a more meaningful way.
Craft still matters, though: if you make four table legs that aren’t all the same size, it probably won’t stand up correctly. Some materials are more expensive than others so you can’t afford to make too many mistakes. Making real things is hard, but you can still do it. The Material Construction territory captures all of those tools that we still use, whether they are purely hand-powered or motor-driven. The elements and engagements in this territory will be useful whether making
The Boot Camp Sequence is a good way to get started and combines some of the Design Thinking and Material Construction activities (as well as a little Digital Fabrication).
When you’ve got the basic safety and good practices down and you’re ready to put skills to the test with a real project, (whether you’re 6, 16, or 36) try the Drag Race or Marble Maze projects.
Digital Fabrication
Within the Digital Fabrication territory, tools for making are controlled by computers. For decades, the manufacturing industries have utilized computer numerically controlled (CNC) tools. Today, those sophisticated platforms are accessible to students on their desktops and in their makerspaces. The field is broad and broadly covers both subtractive (laser cutting, routing) and additive (3D printing) processes. Whether your tools are operating in two dimensions, three dimensions, or more, the process will begin with some kind of data file or geometric representation of the shapes to be created.
In most cases, we start with 2D tools before we teach 3D tools. For digital fabrication in two dimensions, we are typically talking about vinyl cutting (like in the Vinyl Stencils technique) or laser cutting/engraving. This process begins with a digital file, typically a vector-based drawing file created using a tool such as Inkscape or Adobe Illustrator. Our Inkscape: Intro to Tools and Inkscape: Basic Techniques will get you started with designing vector-based files. Follow that with Inkscape Laser Cutting Best Practices and Programming with Stroke to prepare your files for laser cutting. When you’re ready, Laser Cut Lightboxes is a great way to practice your new skills.
If you’re ready to start using a 3D printer, the Overhangs, Supports, and Successful Models for 3D Printing concept and the 3D Print Slicing, Tuning, and Adhesion technique will help you set up successful 3D print jobs.

Communications
In the original Bit Space
Trying your hand at the 1, 100, 1000 activity will help you exercise your design thinking and composition development process. Concept Mapping is a valuable technique for organizing knowledge in a visual way that allows us a way of “brainstorming” quickly and physically and is a great first step to approaching many projects.
Electronics
So many of the things we design, produce, and consume use integrated electronics to enhance physical functionality with computation, interaction, and intelligence. The Electronics territory starts with the basics of electricity such as voltage, loads and circuits, resistance and creating simple circuits with LEDs. It continues through micro-controlled sensing and actuation, physical interaction, media control, and robotics.
Combined with Digital Fabrication or Material Construction, the Electronics territory continues the connectivity between physical making and computer science.
Interactive Media – Coming Soon
The Interactive Media territory is, in many ways, the digital counterpart to the Material Construction territory. Interactive media projects might use many of the same design tools, such as 3D modeling, as projects in Digital Fabrication or Material Construction. Video games are the quintessential modern example, but 2D interaction, serious scientific simulations, and non-game like interaction is part of the same practices.
The focus of this territory is on the tools and technologies which enable the creation of media that may change and “respond” while being consumed.
Computational Thinking – Coming Soon
This is not a computer science curriculum, though we discuss many important concepts of computer science. This is not a computer programming training program, though we will explain much of the basic elements used in common programming languages. Think of our Computational Thinking content like the critical glue that helps you connect and unite other helpful resources to your computer science curricula and to projects in your makerspace.
The Electronics and Interactive Media territories include projects, activities, concepts, and techniques which employ the use of computer science practices. The Computational Thinking territory works with other resources to support those projects in particular ways.
7 Territories, 1 Project
Bit Space was created to situate our youth directly at the intersection of all seven of these territories with projects that mix-up realities, toolsets, and individual interests through the promotion of radically creative thinking and the manifestation of real things which challenge the young designers’ ideas and personal skills.
Use This Framework in the Way that Works Best for You
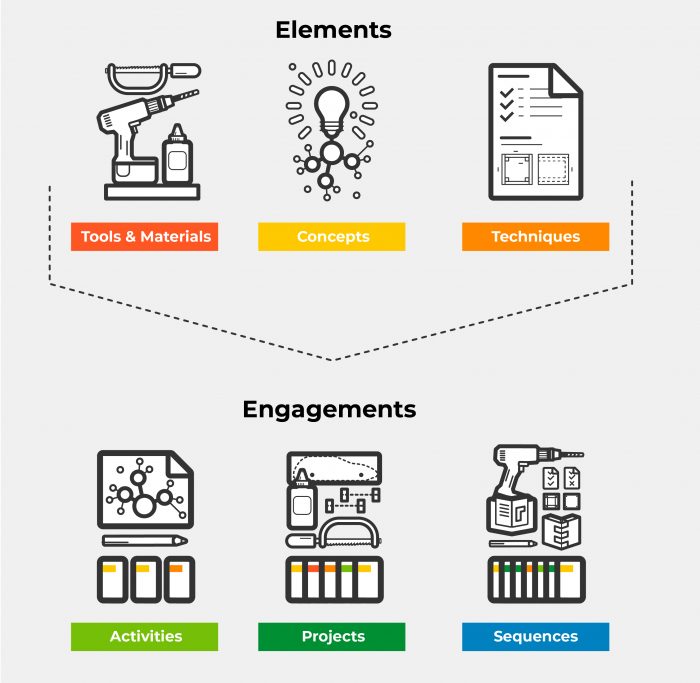
The curriculum is made up of Elements and Engagements:
- Elements
- Tools/Materials: the things we use.
- Concepts: ways of thinking.
- Techniques: ways of doing.
- Engagements
- Activities: short activities (roughly one or two hours) that are more directed and focused practicing on a single technique.
- Projects: more open-ended engagements which combine techniques across territories, phased over multiple sessions.
- Sequences: stitch together a series of content (Elements and Engagements) to create a flow for implementation and learning.
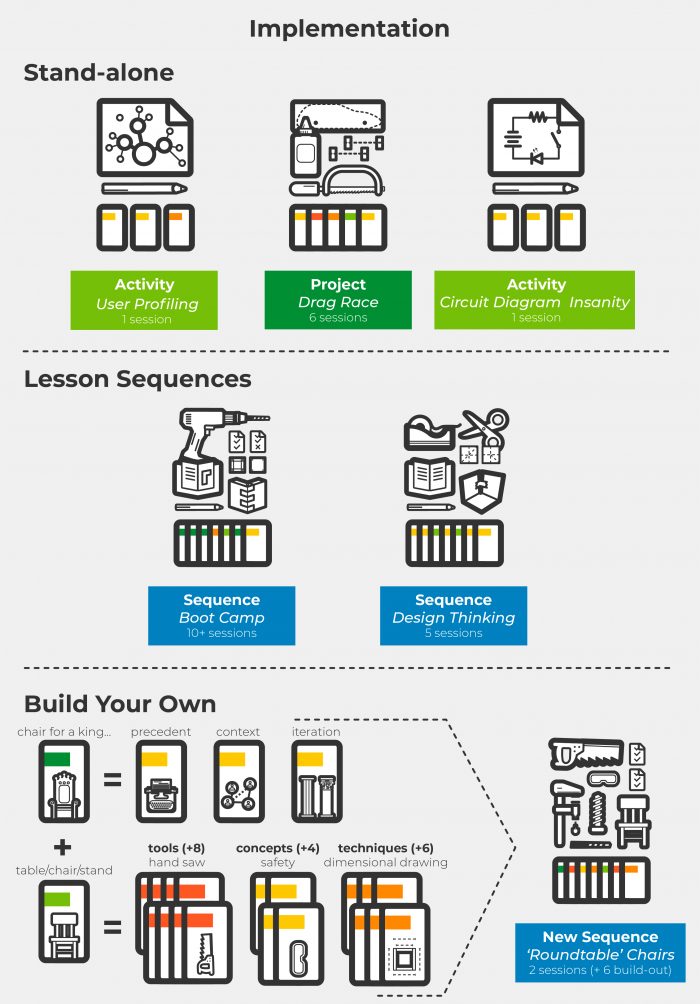
This curriculum is flexible in design so that it may be applied in a variety of ways. Each piece of content can stand on its own to be used by a teacher as they see fit to implement it in their classroom or out-of-school-time programming. Here are a few options:
Use standalone engagements. If you’re looking for some great projects or activities which you can run to connect your classroom to
Projects use prompts and constraints to move a student towards a particular kind of unique authorship, generally to produce some kind of thing (whether physical or not). Projects might be completed in a single session, but they typically have a kind of comprehensive significance to them. Activities are much more focused in their prompt and constraints and usually are aimed at practicing very specific concepts or techniques. They aren’t projects per se, but some activities might take more than just a few minutes.
Follow one (or more) of our sequences. Each of the territories will offer a progressive sequence, focused on developing those particular territory skills. Additional sequences combine content from across territories to create holistic learning experiences.
You can get started with the Design Thinking sequence or the Boot Camp sequence. Over time we will develop additional sequences focused on specific trajectories of design and making.
Build your own projects. If you have projects of your own you want to run with students but lack the resources to help get students up to speed with techniques, we have the support network you need. Our Concept and Techniques Elements are the reusable building blocks we utilize to build our Engagements and are written to be as independent as possible. They will connect you to documentation on the tools and materials employed in their implementation. This might be all you need to support the project of your dreams.